Configure DNS Server in Windows by installing the DNS role, creating forward and reverse lookup zones, and adding DNS records. This process enables efficient name resolution within your network.
DNS in A Simple Word
The Domain Name System (DNS) functions as a fictitious phone book for the Internet. Your device utilizes DNS to look up the specific IP addresses of the websites you enter into the address bar of your browser to locate them online. You no longer need to bother trying to remember the IP address of each website you wish to access thanks to this. DNS is a naming database that contains data about domain names and the IP addresses that go with them.
Additionally, it converts human-readable domain names such as www.operavps.com into their IPv4 or IPv6 equivalents, which are more difficult for people to remember and type out.
Prerequisites
To let this tutorial works correctly, provide the options below and move on.
- A server running Windows VPS.
- A user with administrative privileges.
- At least 4 GB RAM with 2 Cores CPU.
Install a DNS Server on Windows Server
Once you purchased your own Windows VPS to run Windows Server with any edition you prefer, you also need to have a pre-installed DNS server role. If you’re all set with this, skip this step to the next one. If not, review the required steps of installing the DNS server role to prepare to Configure DNS Server in Windows Server. As an administrator, you have the option of installing many server roles on a single computer or dedicating an entire server to one particular role. The Domain Name System (DNS) and Dynamic Host Configuration Protocol (DHCP) roles can be implemented simultaneously on one server for convenience.
As you read in the prerequisites part, you must log in to your Windows Server as an administrator user. Then, follow the below steps to Install DNS Server.
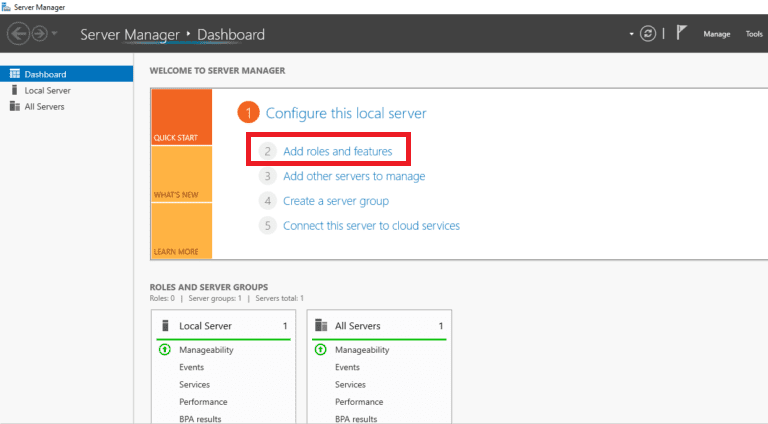
Step 1. Click Start, then click Server Manager and open it. When you see the screen below, click on Add roles and features.
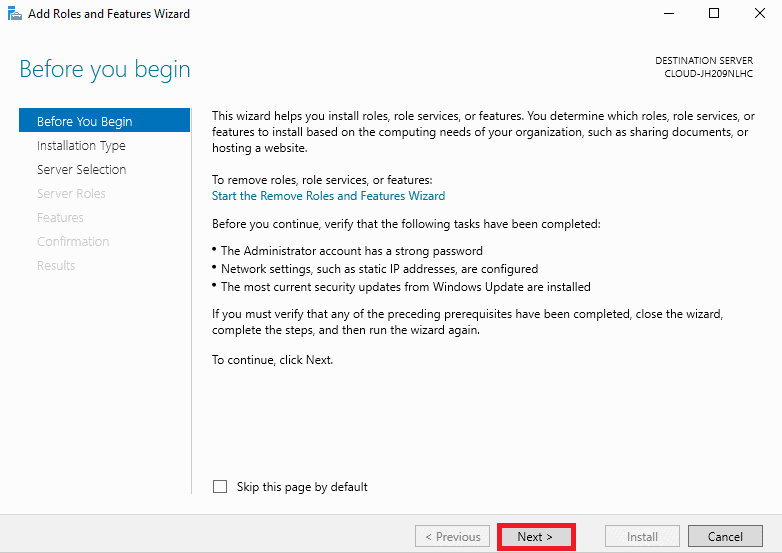
Step 2. Once you see the Before You Begin screen, click Next.
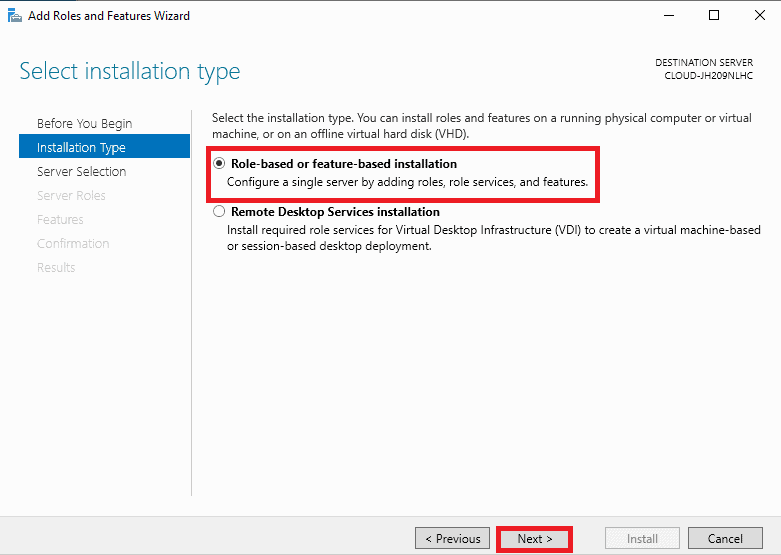
Step 3. After clicking the Next button in the previous step, you must see the Select installation type screen. There, select Role-based and feature-based installation and click on the Next button to continue.
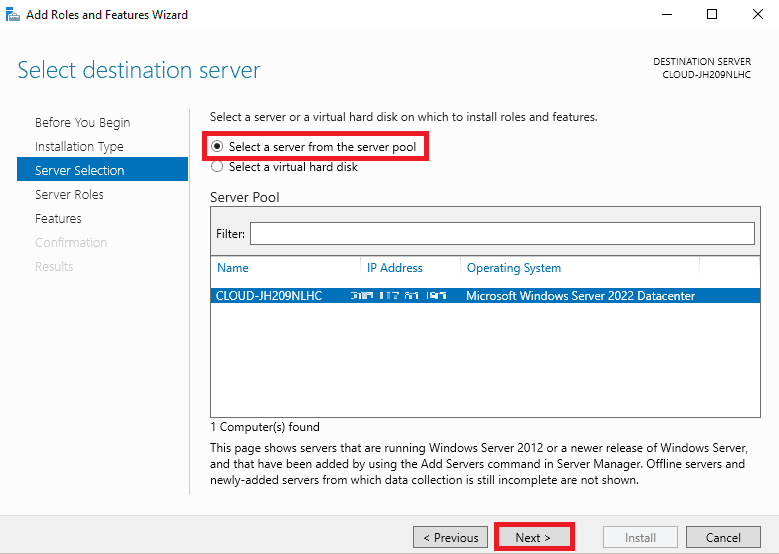
Step 4. On the Select destination server screen, you should select the server from the server pool and click on the Next button.
Step 5. On the Select server roles, select the DNS server and click on the Next button.
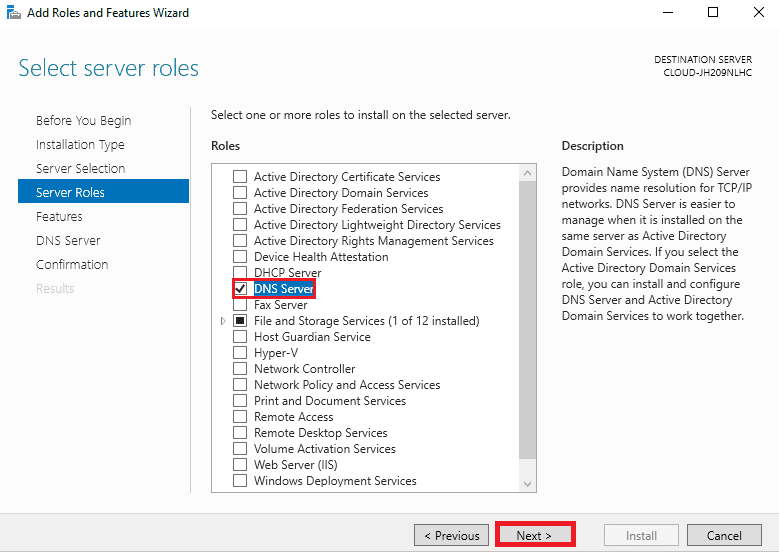
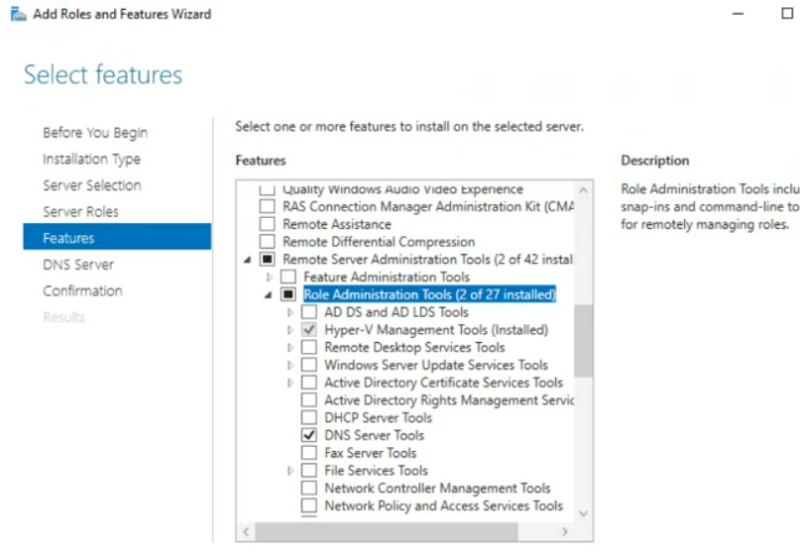
A pop-up window will appear asking you to install some more tools for the DNS server. Check your needs if you want to install the tools, then proceed as necessary. You can see some more features for your DNS server in the following window. Read them attentively, and if necessary, add them.
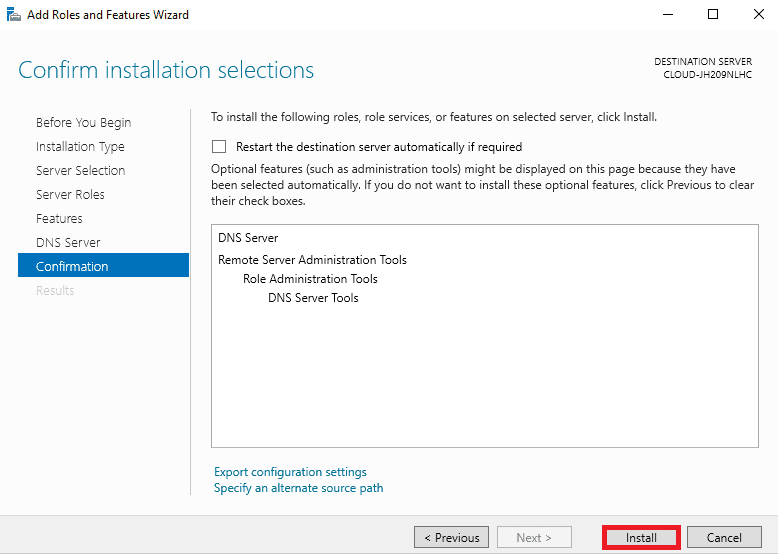
Step 6. When you see the below screen, you should verify all settings. Then, click on the Install button to start the installation process.
Step 7. Now, you must see the Installation progress screen. Just wait till the installation is complete. When the installation is complete, click on the Close button to close the installation wizard.
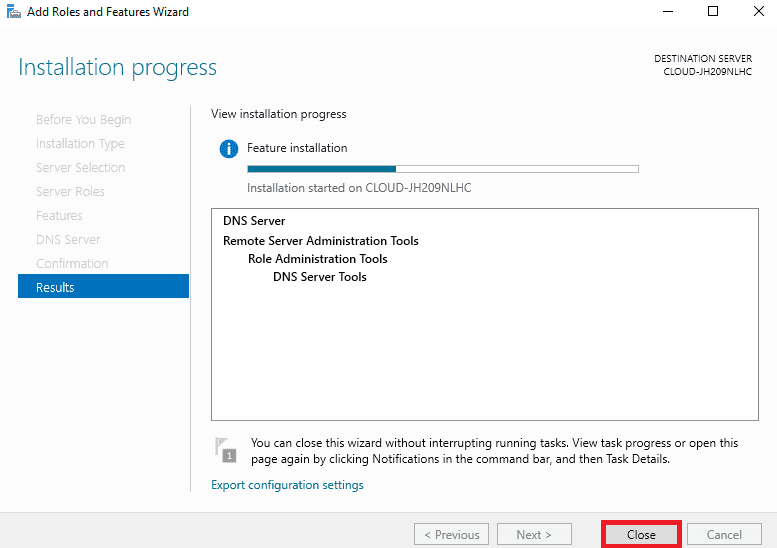
Your system’s DNS Server role has been successfully installed. Go to your Server Manager right now. A box that represents the DNS role is visible. Now that the DNS server role has been installed, let’s move on to learn How to Configure DNS Server on Windows Server.
Remove the DNS Server Role
To uninstall the DNS Server role, run the following command:
Uninstall-WindowsFeature -Name DNSConfigure DNS Server in Windows Server (Visual Step)
Now that you have successfully installed DNS Server on your Windows Server, let’s go through the steps of this part to Configure DNS Server in Windows.
Step 1. Create a Forward Lookup Zone
Zones are the various parts of a domain namespace. In this step, to resolve the name to the IP address you must create a forward lookup zone. To do this, review the following instructions.
1. Open the Server Manager and click Tools > DNS. So, you can see the DNS manager will be opened.
2. Right-click on the server name and click on the New Zone.
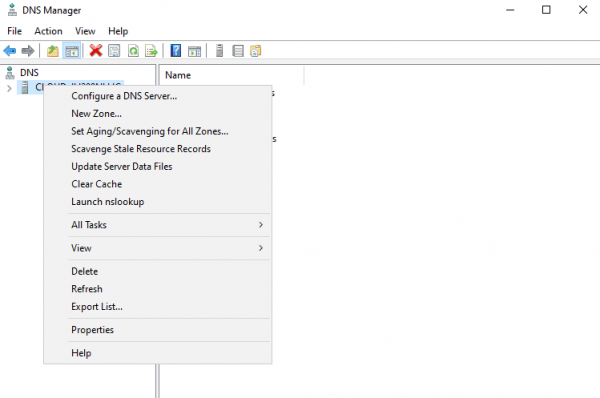
3. Once you see the zone configuration wizard screen, click on the Next button.
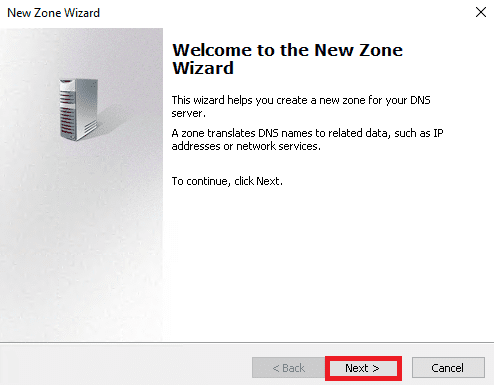
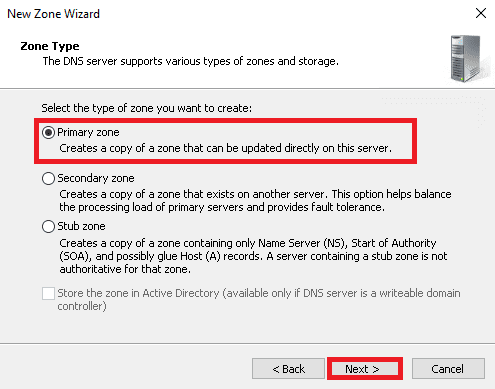
4. Now, you must see the zone type selection screen. Just select the Primary zone and click on the Next button.
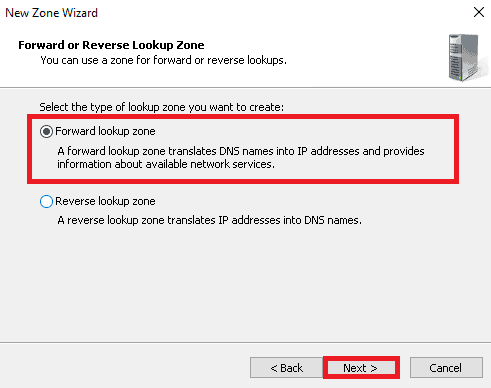
5. On the below screen, select Forward lookup zone and click on the Next button.
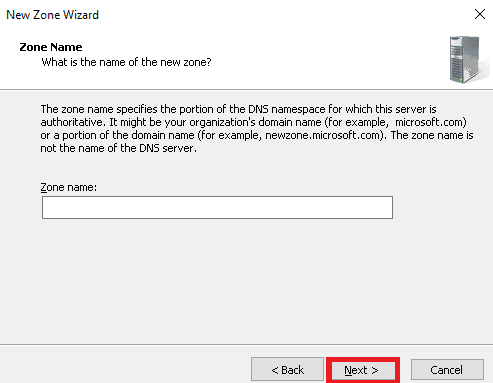
6. On the below screen, you will be asked for the name of the new zone. So, give your zone name and click on the Next button.
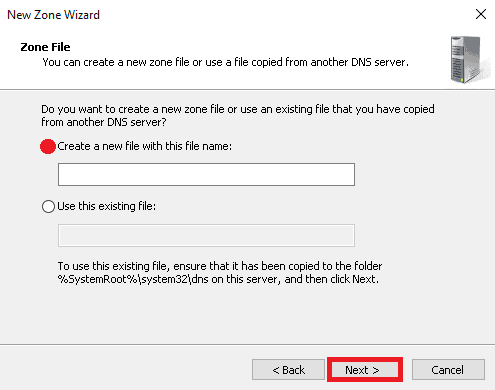
7. On the Zone File screen, select “Create a file with the file name” and click on the Next button.
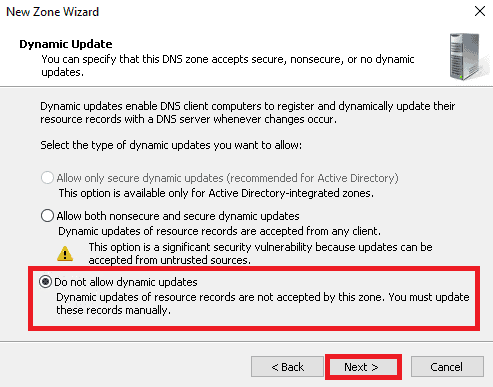
8. Once the Dynamic Update screen is displayed, select “Do not allow dynamic update” and click on the Next button.
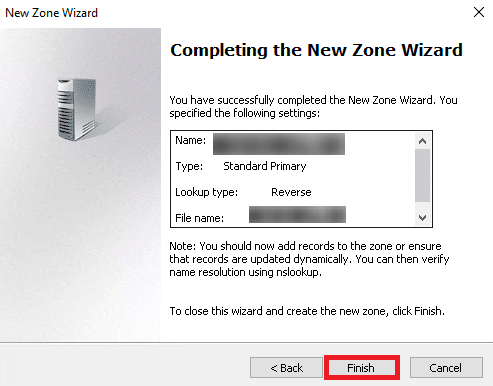
9. After viewing the below screen, click on the Finish button.
10. when you see your reverse lookup zone in the below screen, you’re done with this step.
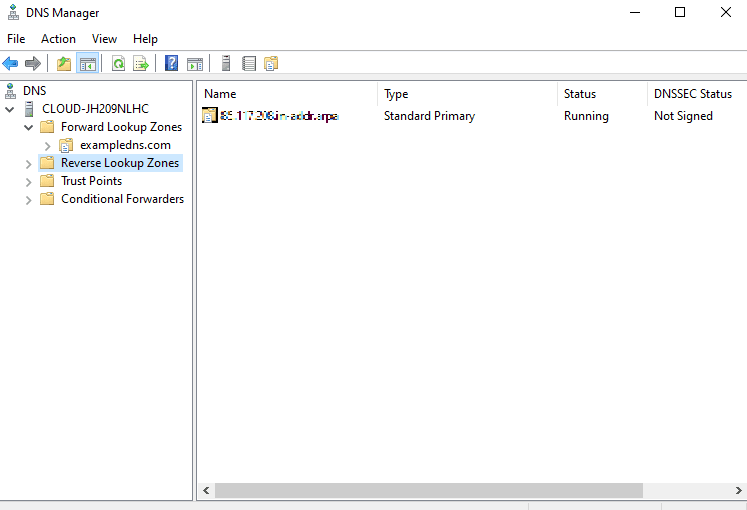
Step 2. Create a Reverse Lookup Zone
You completed the first step to Configure DNS Server in Windows. You need to complete three more steps. In this step, you will review how to create a reverse lookup zone to resolve the IP address to the name. Just follow all the below-required actions.
1. On the DNS manager, right-click on the server name and click on the New Zone to view the zone creation wizard:
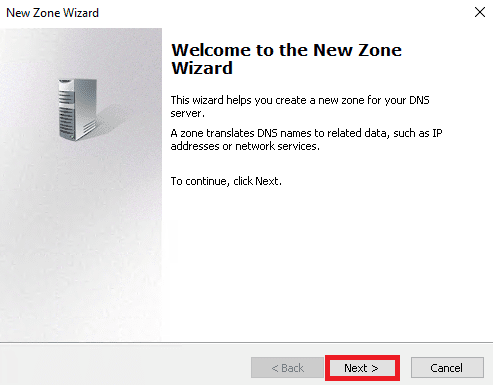
2. The Zone Type selection screen should be displayed. Select the Primary zone and click on the Next button.

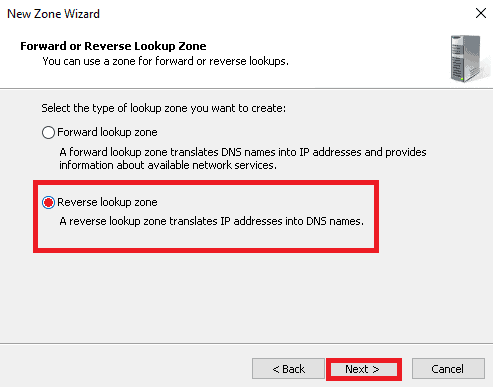
3. On the Forward or Reverse Lookup Zone screen, select “Reverse lookup zone” and click on the Next button.
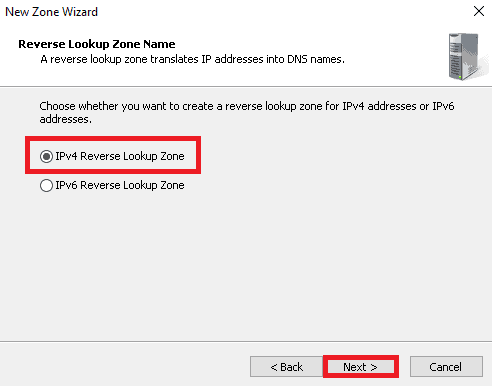
4. Once you see the Reverse Lookup Zone Name screen, select IPv4 Reverse Lookup Zone and click on the Next button.
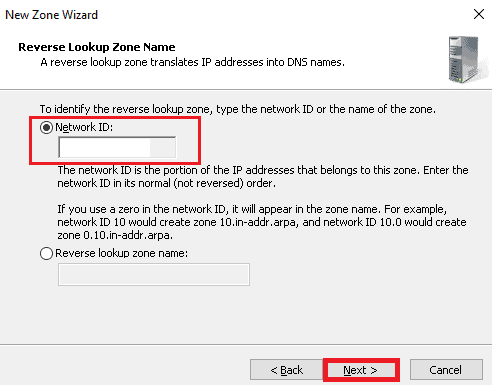
5. As you see below, it is time to define your network id. Then, click on the Next button.
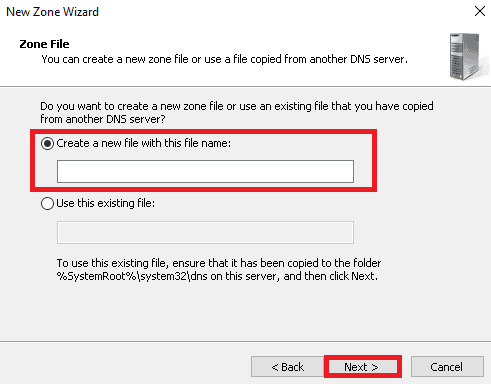
6. When the below screen is shown, select “Create a file with this file name” and click on the Next button.
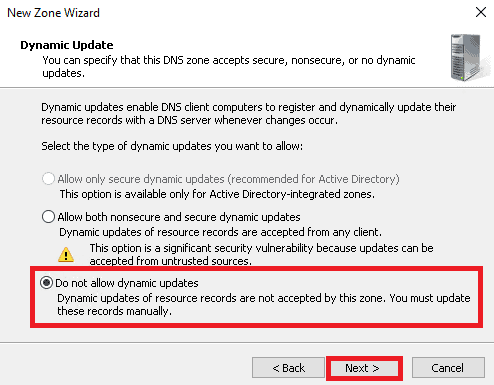
7. Again on the Dynamic Update screen, select “Do not allow dynamic update” and click on the Next button.
8. When the below screen is displayed, click on the Finish button.
9. And finally, when you see your reverse lookup zone on the following screen, it says you have successfully completed the second step to Configure DNS Server in Windows Server.
Step 3. Add A and PTR Records to DNS
The third step to Configure DNS Server in Windows is to add A and PTR Records for remote hosts to perform name resolution. If you need to know about DNS Records, refer to our related article and come back to complete this step by adding A and PTR records to DNS.
1. On the DNS manager, right-click on the forward lookup zone. Then, click on the New Host (A or AAAA).
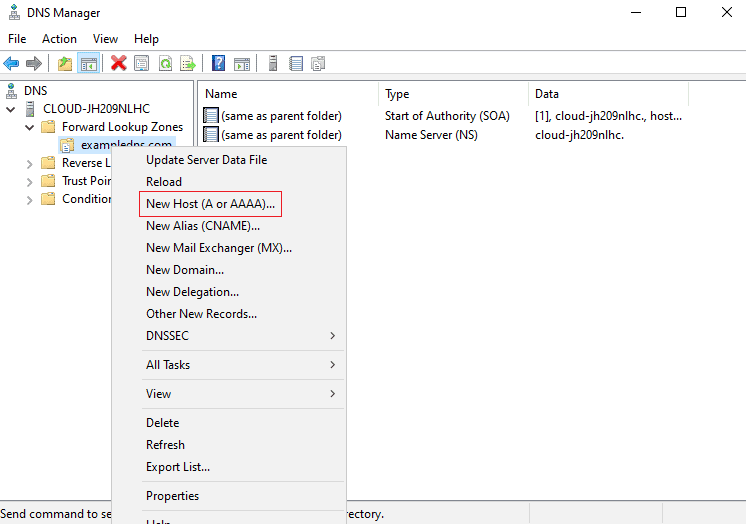
2. Now, define the parent domain name and IP address of your host in the below screen. then, select “Create associated pointer record” then click on the Add Host button.
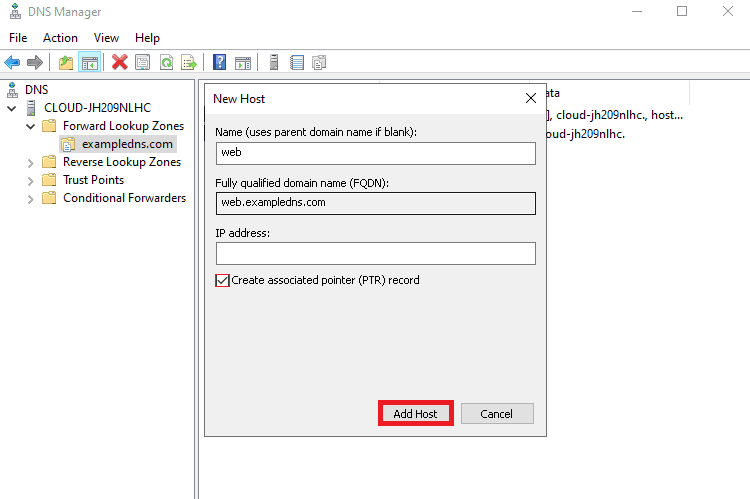
3. When the below screen is displayed, click on the forward lookup zone.
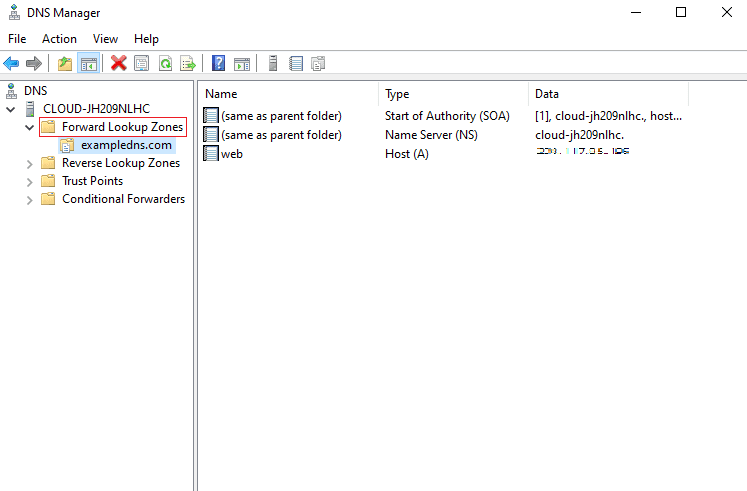
By this, you can make sure that you have successfully completed the steps. Configuring DNS Server in Windows is done if you can see the above screen.
Configure DNS Server to Listen on a Specific Interface
Since a DNS server will listen for requests on all IP address interfaces by default, you can use the GUI or PowerShell to configure DNS server to listen on a specify interface.
Run PowerShell on your computer. Then, find your computers existing IP address by running the Get-NetIPAddress cmdlet. Make a note of the IP address that you want to use for your DNS server.
Once you are done with Installing and Configuring DNS Server, you are ready to verify if DNS Name Resolution works correctly.
Simply open your command line interface and run the following command:
nslookupIf you can view the name you provided for your server and your IP address in the output, you can continue by typing the FQDN of your added host:
> web.exampledns.comYou should see the name to IP address resolution in your output. If yes, type the IP address of your added host to see the IP address to name resolution and make sure everything is working correctly.
Conclusion
Properly setting up and maintaining a Windows DNS server improves network speed, reliability, and security, creating a solid technical foundation that directly supports organizational goals.
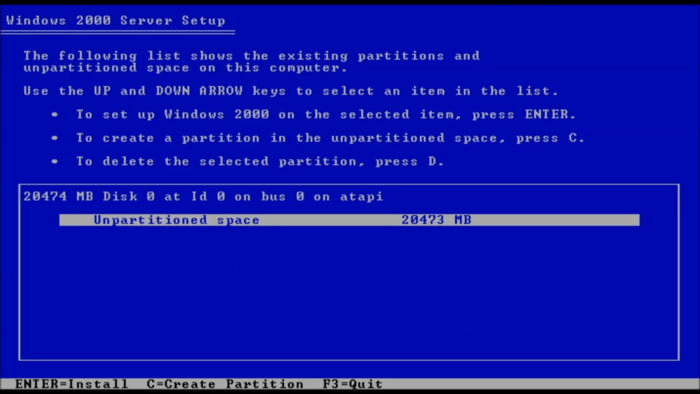
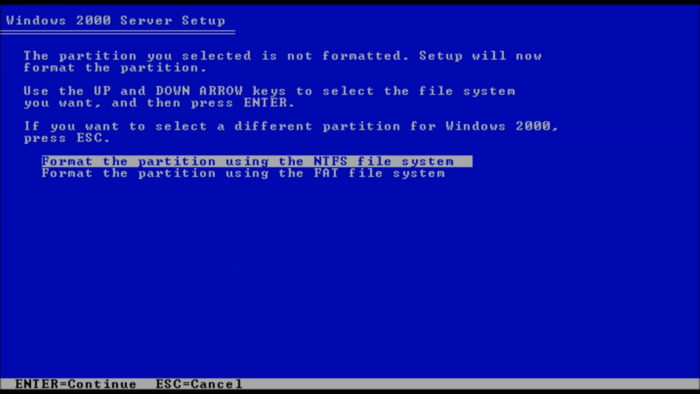 7. Then Setup will copy the necessary files from the installation disk and this process may take up to 5 minutes.
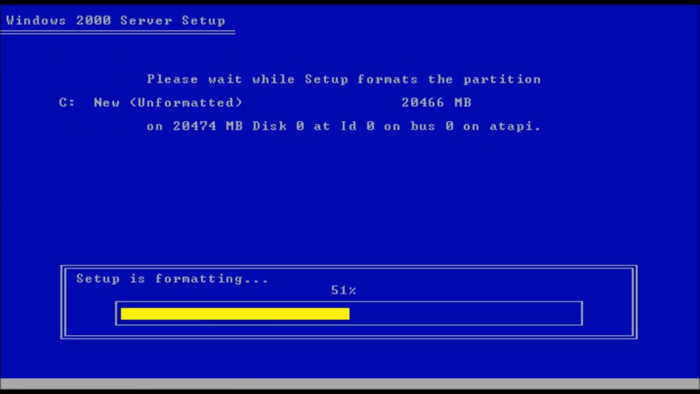 8. After completing the process of copying the necessary files, press the Enter button to restart the system. As a result, the system is restarted in graphical mode.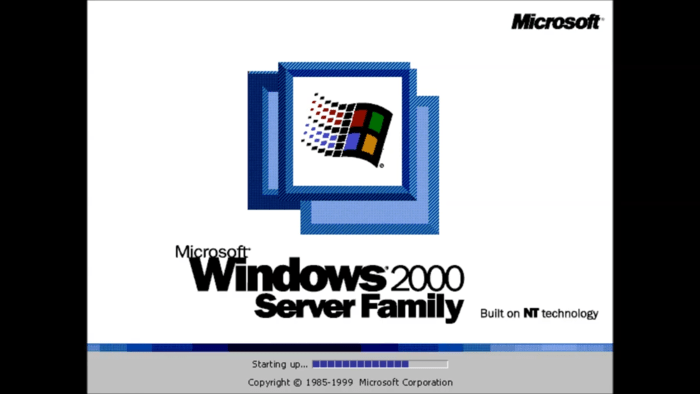
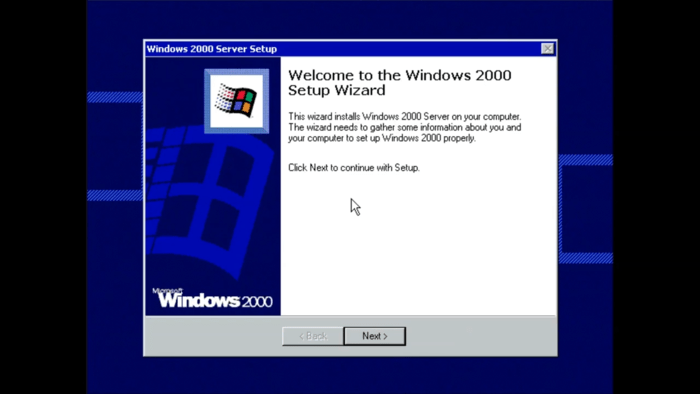
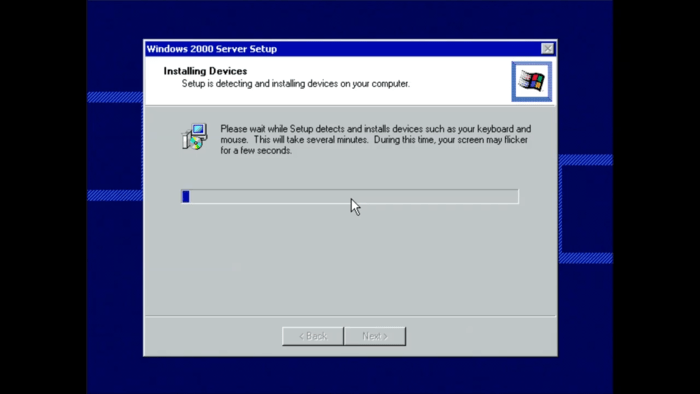
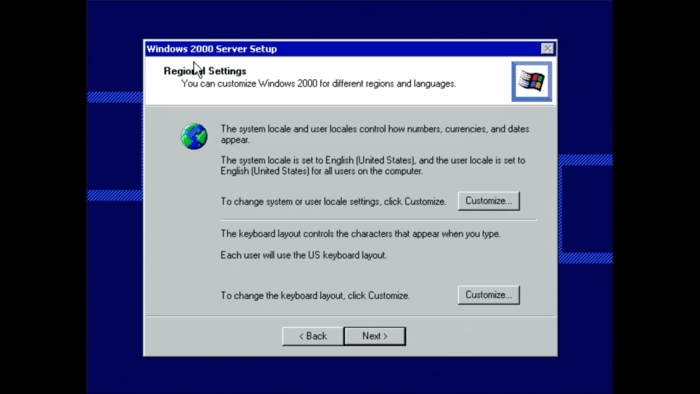 Note: If you need to customize the regional settings, use the Current System Locale option to set the date, time, currency, etc. based on your location. Through the Current Keyboard Layout option, you can customize the special characters and symbols used in different languages on your keyboard.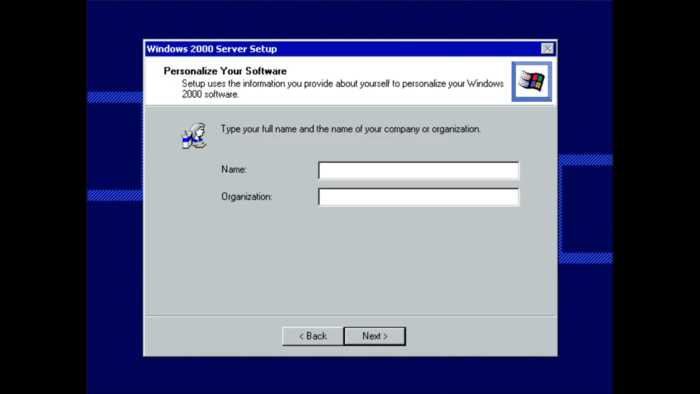
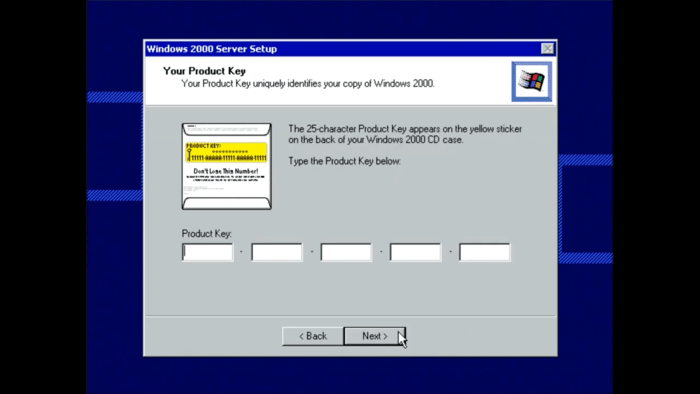
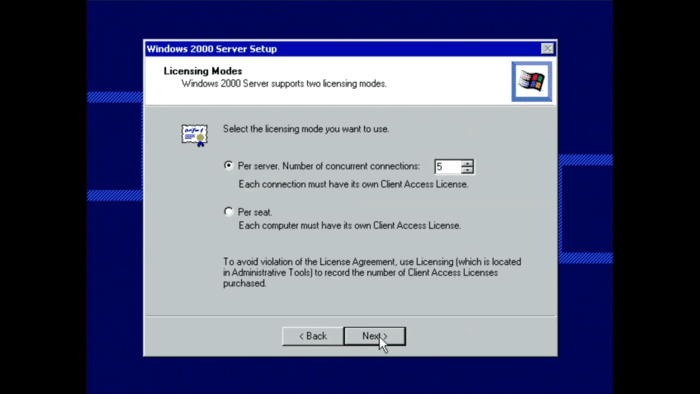
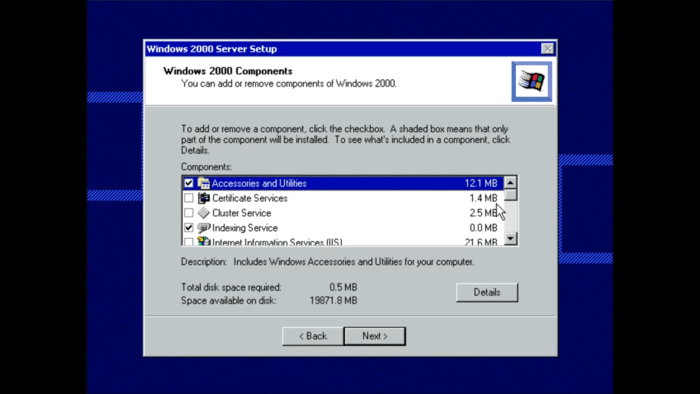
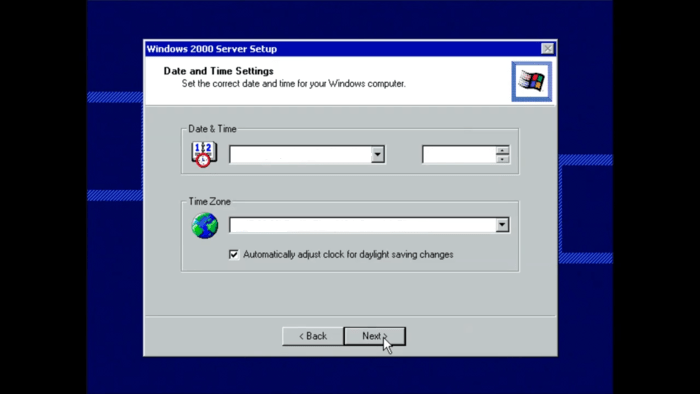
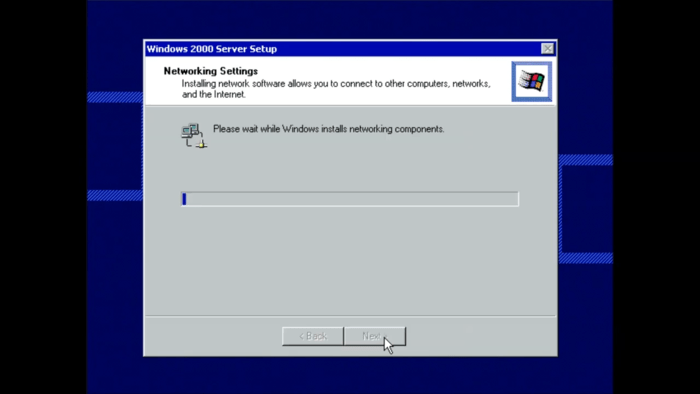
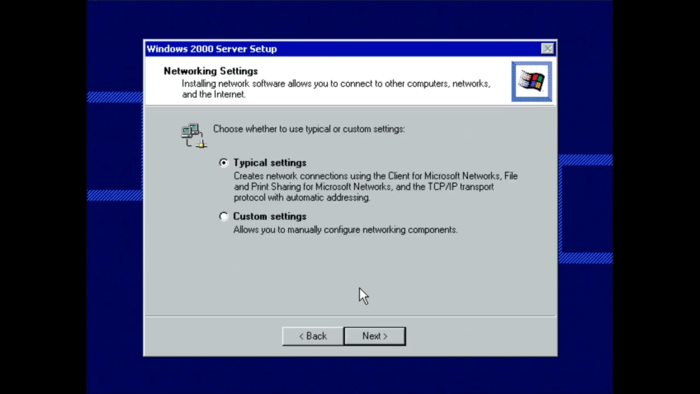
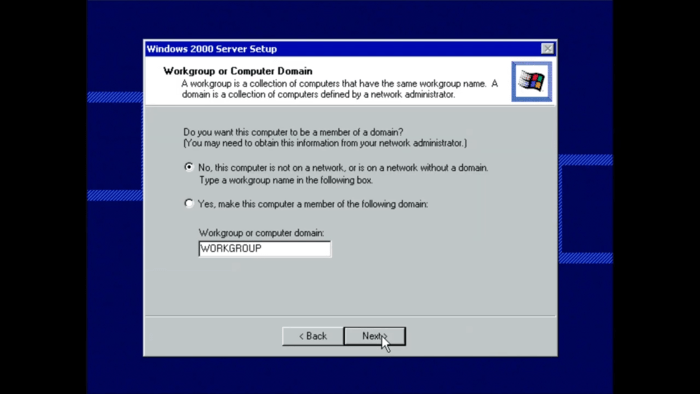
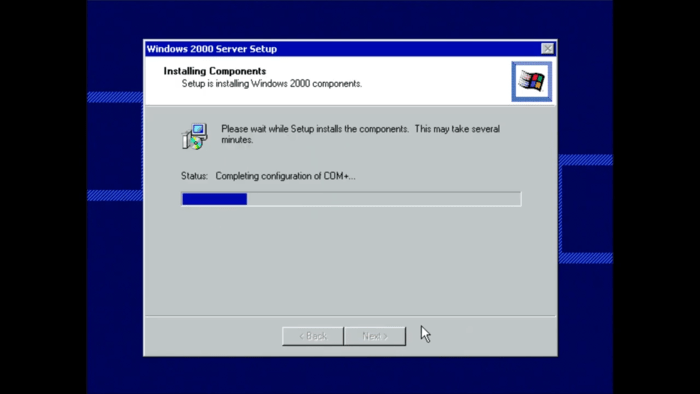
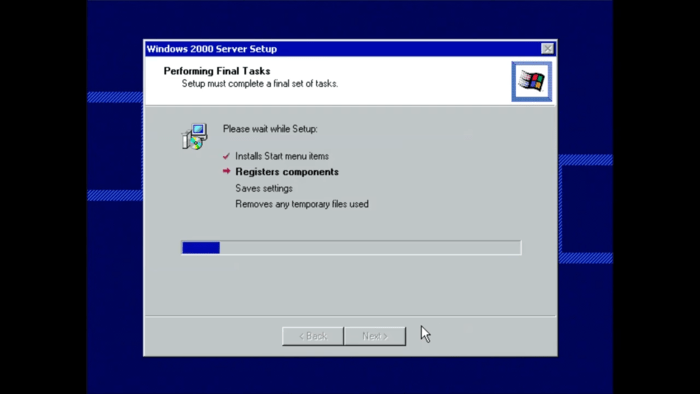
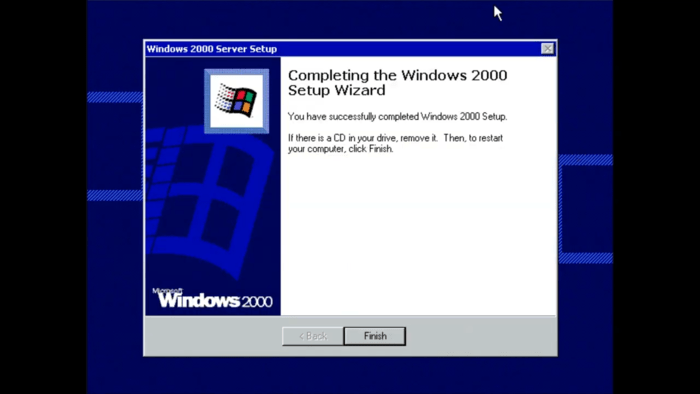
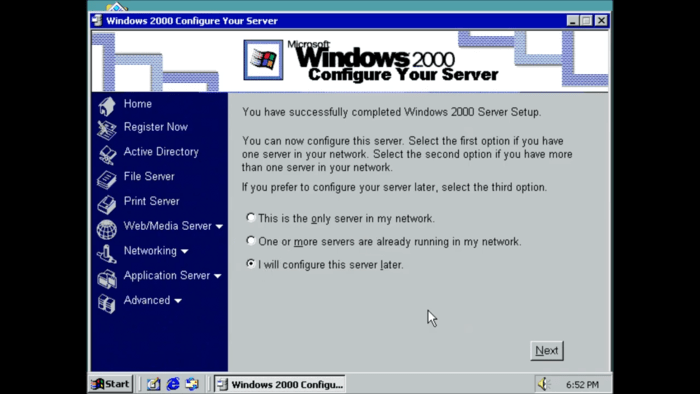
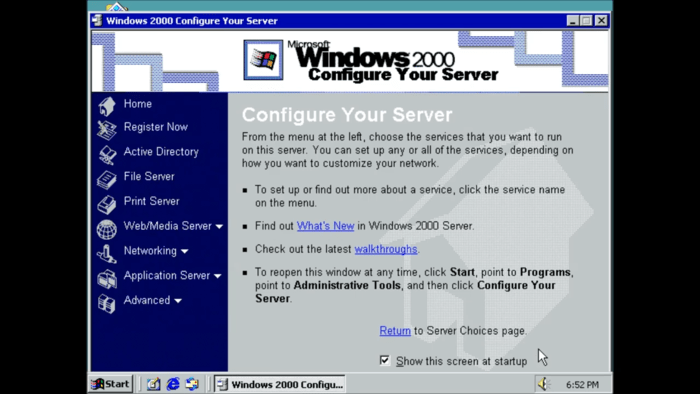
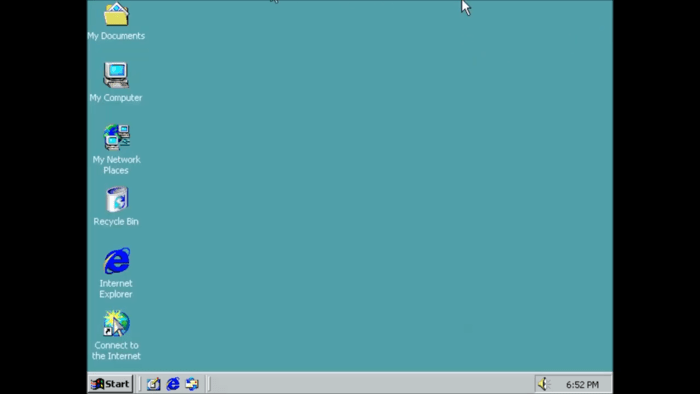 Congratulations, you have successfully installed Windows Server 2000.