Microsoft Windows 2000 Server Installation sets up the OS on a server, including booting from media, hard drive partitioning, file system selection (preferably NTFS), licensing input, and network configuration. This enables features like file sharing and domain control.
Prerequisite
If you want to install Windows 2000 Server personally on the server, you need to buy a dedicated server and install KVM or ESXI.
Then you must provide information during the Windows 2000 Server installation and configuration process, which includes the following:
- Determining hard disk partitioning options
- Determining the appropriate file system (FAT, FAT32, NTFS) for the partition
- Deciding on installing a domain or workgroup (if needed)
- Adjusting the language and zone for computer settings
- Regulating the licensing procedure
1. Boot Windows 2000 server. By booting Windows 2000 server, the required files and drivers are loaded.
2. Click "To Setup W2K Now" and hit Enter to continue.
3. If you use the server for the first time or you have not partitioned the hard disk, you receive a warning message for partitioning, which you must read and press the C button to continue the installation process.
- Create a partition to install Windows 2000 and specify its size and then press C. (the hard disk is not partitioned)
- Create a single partition the size of the entire hard disk and press Enter. (The hard disk is not partitioned)
- If the hard disk is partitioned, create an additional partition in the unpartitioned space
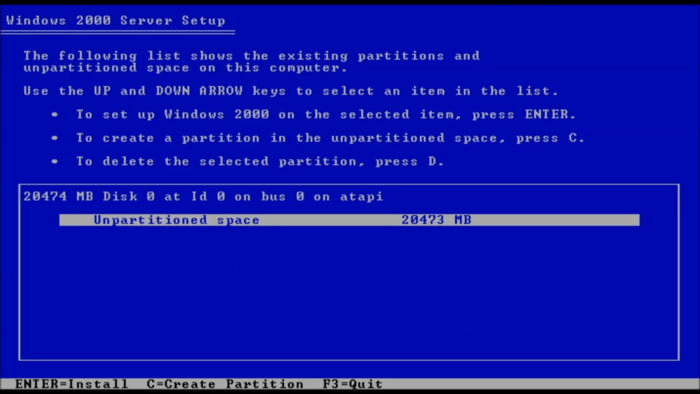
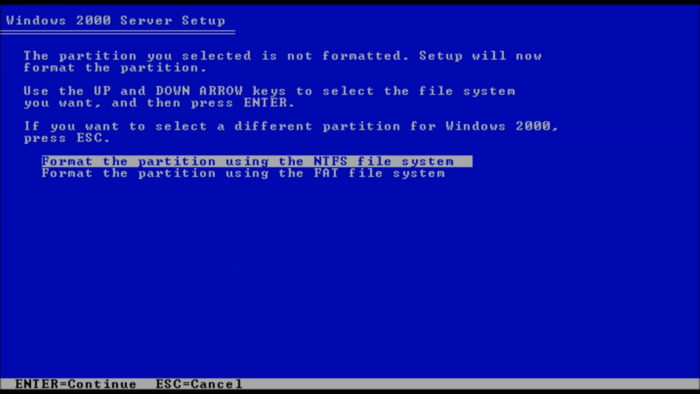 7. Then Setup will copy the necessary files from the installation disk and this process may take up to 5 minutes.
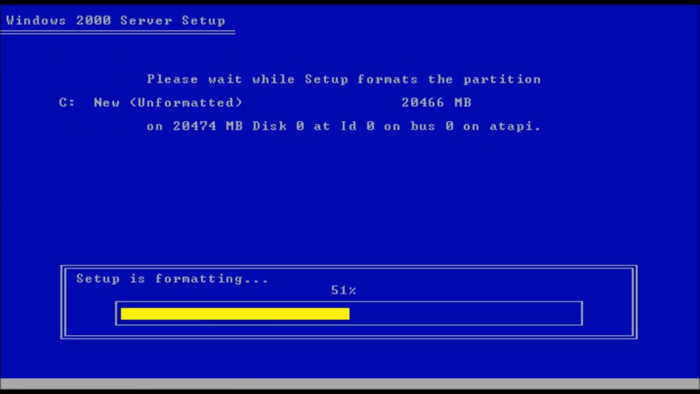 8. After completing the process of copying the necessary files, press the Enter button to restart the system. As a result, the system is restarted in graphical mode.
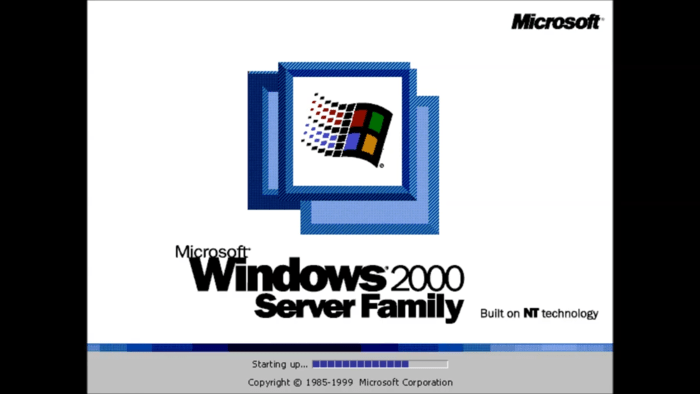 9. Select Next to continue the setup process.
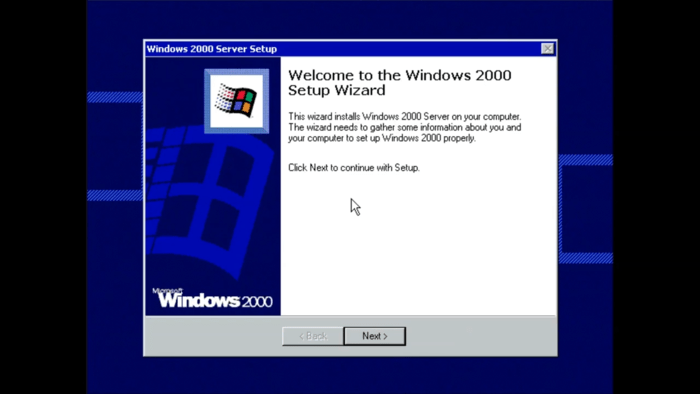
10. Then the device drivers are automatically downloaded based on what is recognized on your computer, and tools such as keyboards, etc. are installed. Wait for the process to complete, which may take a few minutes.
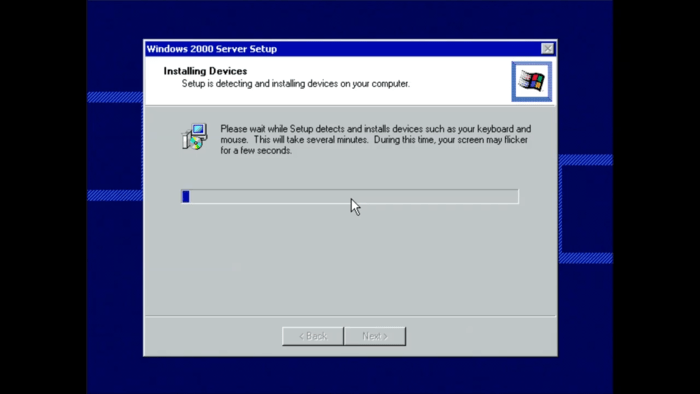
Note: When completing the progress bar, you may see the screen flicker or the progress bar freeze up (the progress bar is stuck halfway). This problem can be solved by turning off the computer, removing unnecessary hardware such as ISA cards, or disabling BIOS features before setup.
11. At this step, you can change languages and regions if needed. If you want to change the language and regions, select the Customize option. If you like the default settings, click the Next button.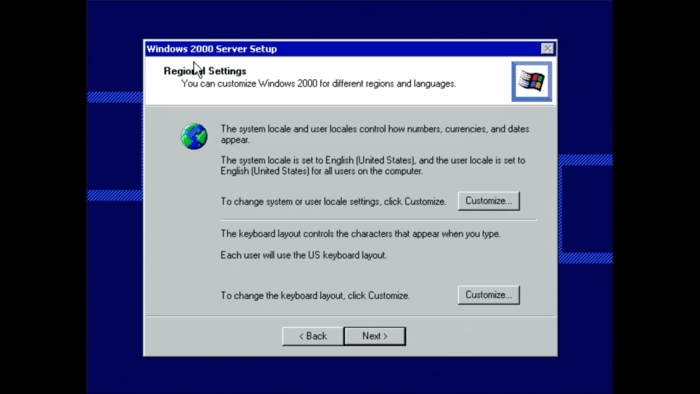 Note: If you need to customize the regional settings, use the Current System Locale option to set the date, time, currency, etc. based on your location. Through the Current Keyboard Layout option, you can customize the special characters and symbols used in different languages on your keyboard.
12. Enter your name and organization (if needed) and click Next.
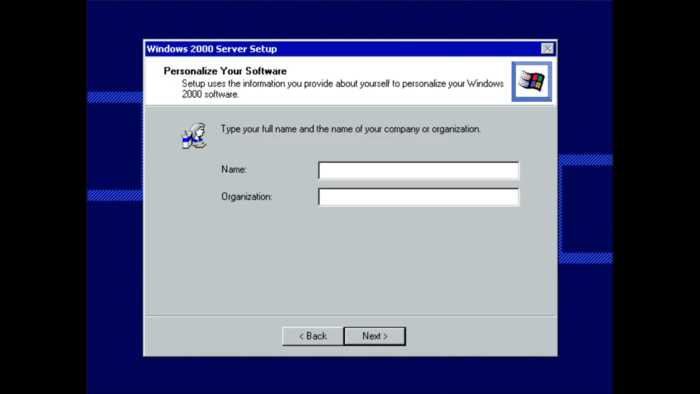
13. In this step, type the product key and click Next.
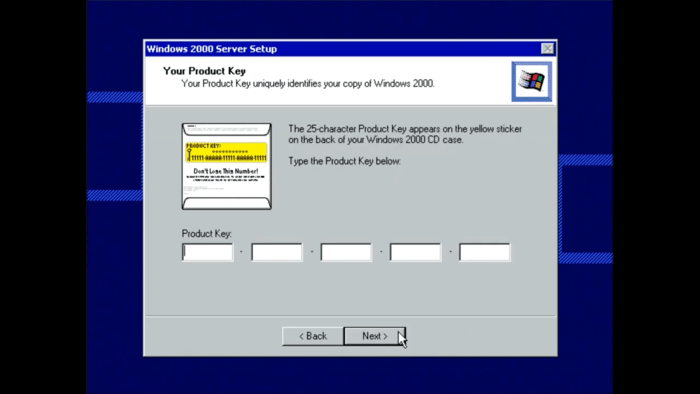
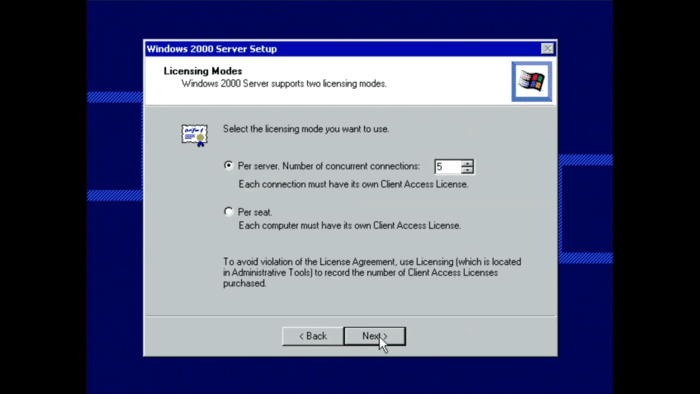
14. Specify the type of license and the number of licenses purchased.
15. In this step, fill in the computer name and administrator password fields.
Note: The local Administrator user account is available in the computer’s SAM( Security Account Manager), don’t look for it in Active Directory.
Note: If you plan to link a Windows 2000 server to a domain, you will need a predefined computer name that is created for that domain account.
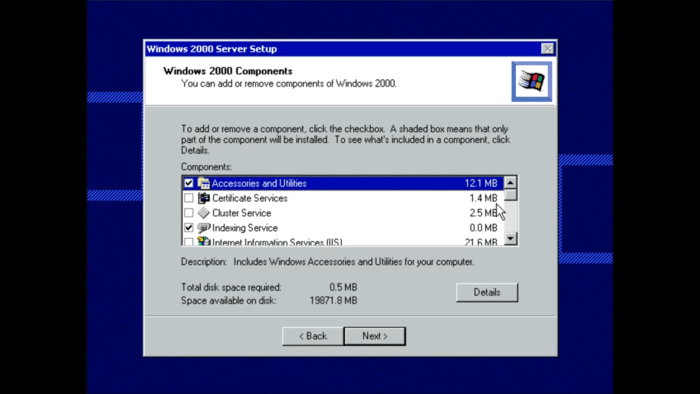
16. At this step, we are allowed to specify the components that we intend to install.
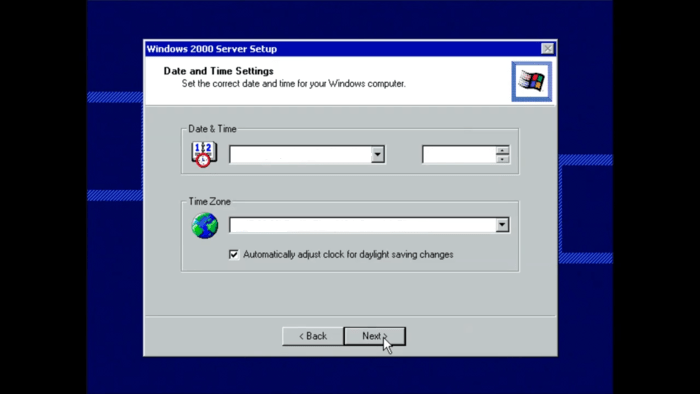
17. In this step, configure Date and Time Settings and time zone and click Next.
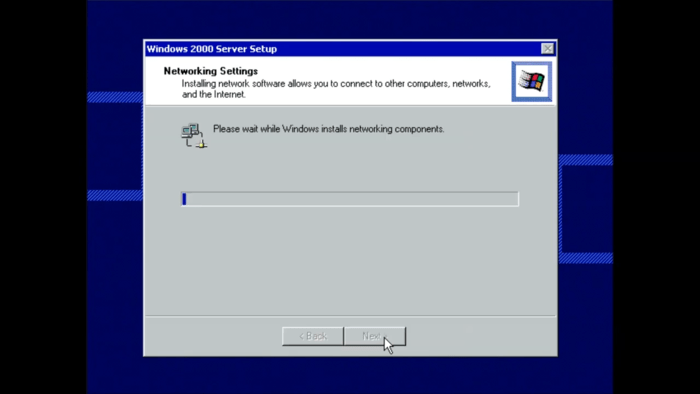
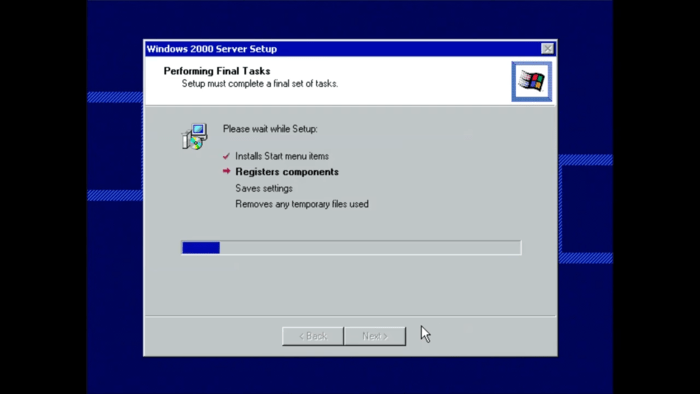
18. Finally, you will face a page that displays the installation process for networking components. After a few minutes, you will see a network settings window that gives a warning about the network adapter. You receive this message when you do not have a network adapter or the network adapter does not support it. You can skip this step and go to the next step.
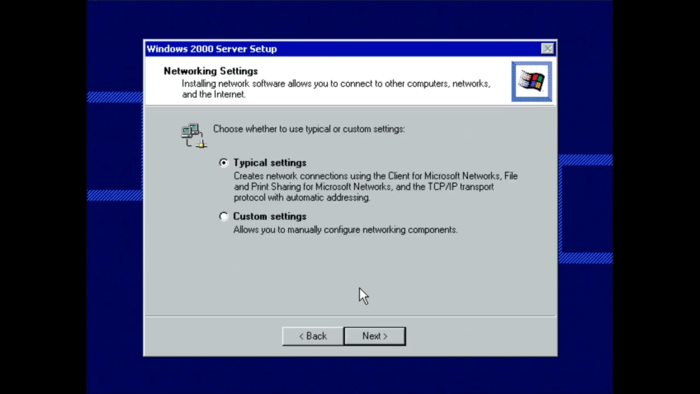
Choose Typical settings if you have the following conditions:
- You use a router or server that manages DHCP.
- You have a computer that runs Internet Connection Sharing (ICS).
- You are in a work environment where you do not intend to start another server or Active Directory.
So, based on your needs, choose one of these two options and press the Enter button.
20. If you select Typical Settings, the Workgroup or Computer Domain window will open. Answer the question,” Do you want this computer to be a member of a domain?” by selecting the No option and specifying the Workgroup or Domain window. And click on Next.
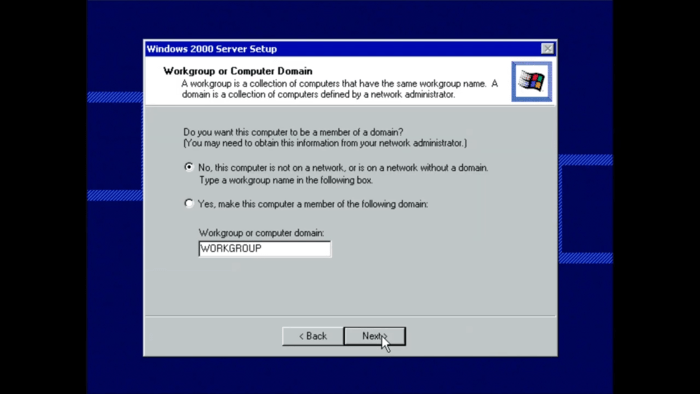
A network domain is a logical aggregation of computers with a central security database for storing security information. Centralized security and management are essential for computers in a domain because they allow an administrator to easily manage geographically dispersed computers.
Note: If you do not have the required permission to join a domain or you are a stand-alone computer, select the” default entry selected” and click Next.
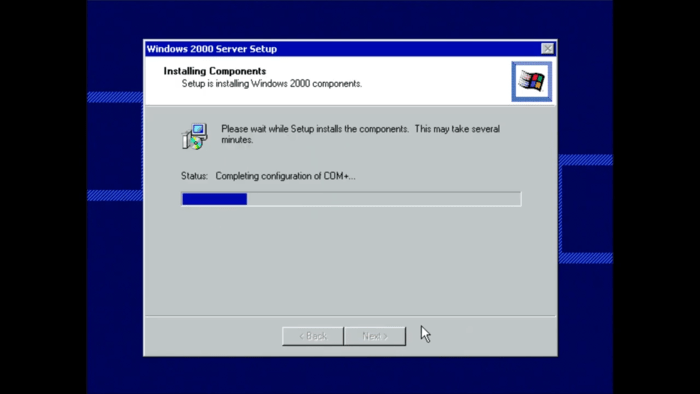
21. As a result, the setup process ends by copying the files and completing the configuration process. Receiving the message “You have successfully completed Windows 2000 setup” will indicate success in setting up Windows 2000 server. Finish the Windows 2000 Server setup process by selecting the Finish option.
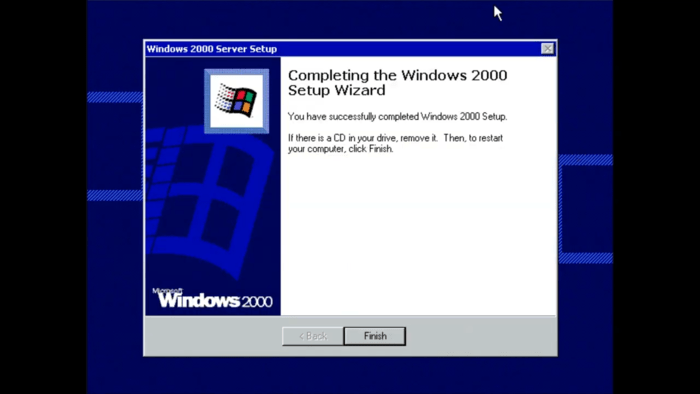
22. By selecting the Finish option, the system will reboot. Finally, you will get a CTRL-ALT-DEL window.
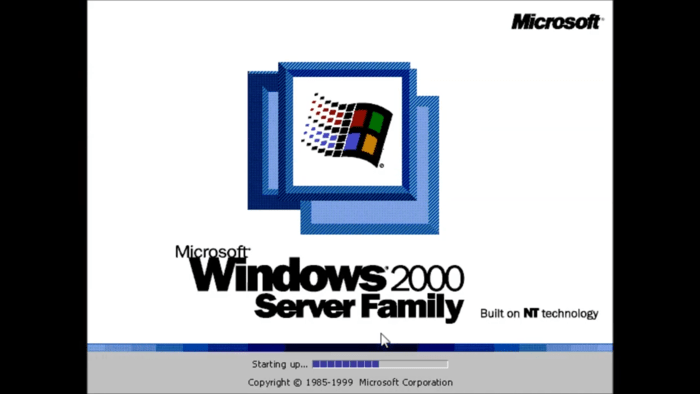
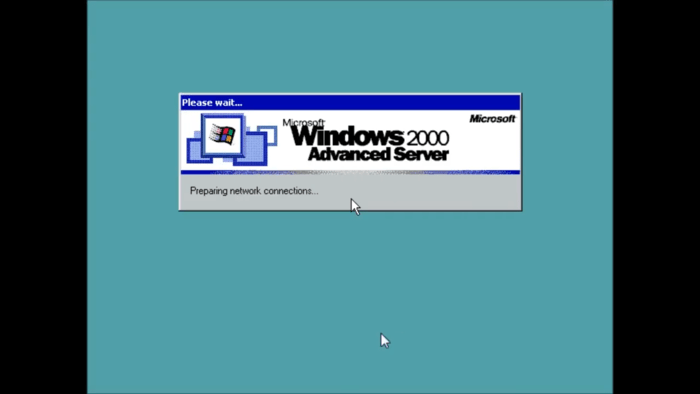
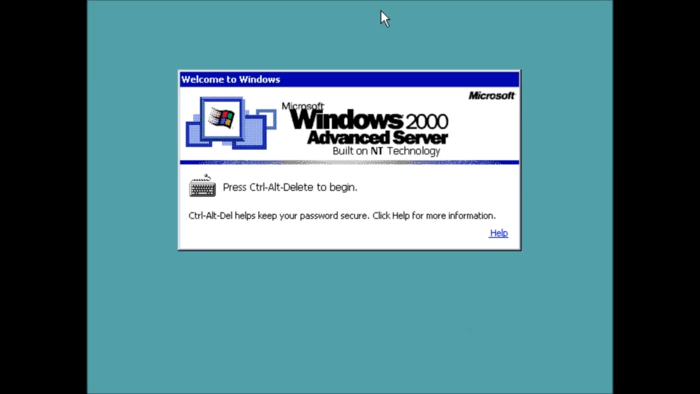
Note: If you are using a virtual machine, you must press Ctrl alt and delete to sign in. There is typically a menu option to send the control-alt-delete command to the guest as that keystroke will always affect the host.
23. After entering the username and password, you will be greeted by the Windows 2000 configure your server window, where you must select the option”I will configure this server later “and Next.
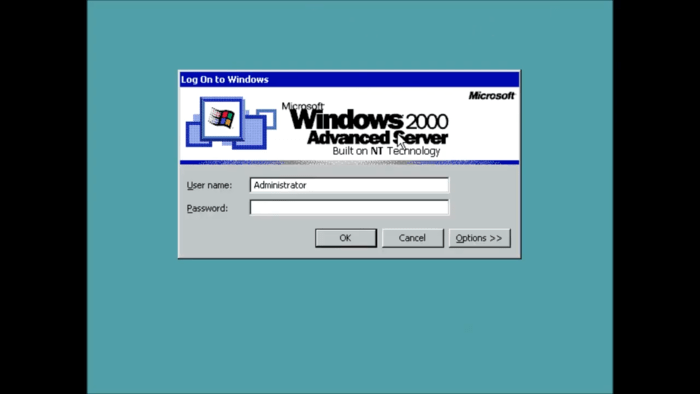
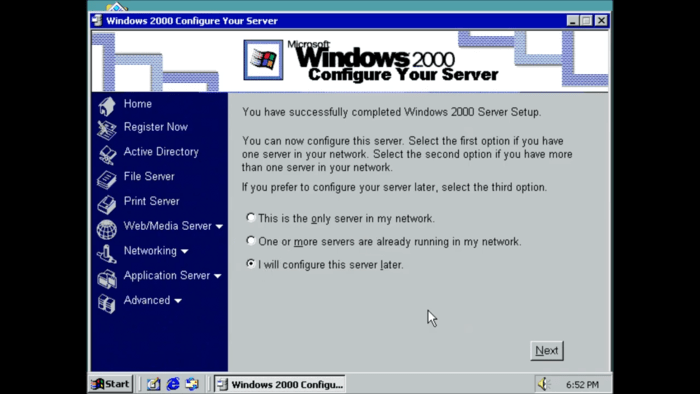
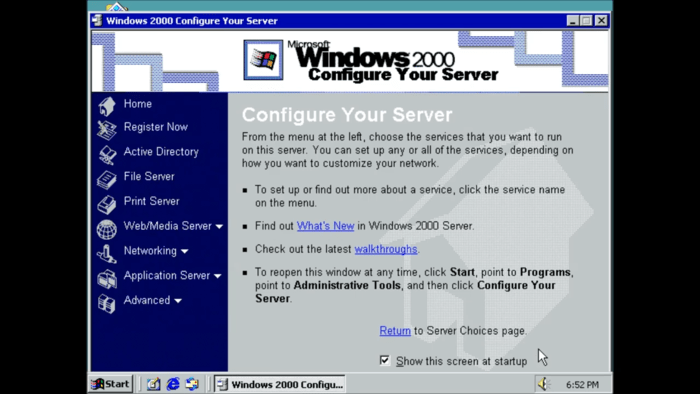
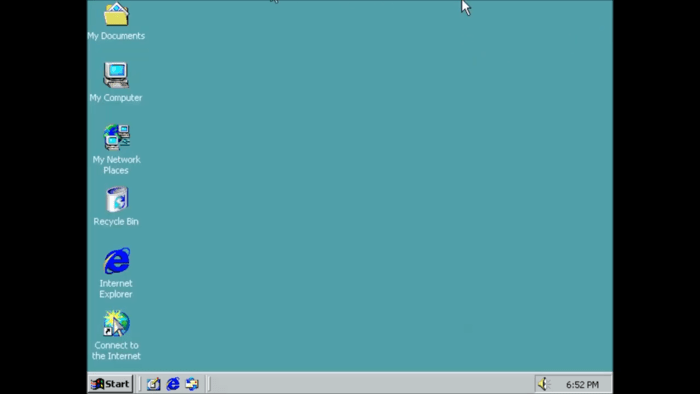 Congratulations, you have successfully installed Windows Server 2000.
No comments:
New comments are not allowed.